10 Cute And Easy Hairstyles
Drawing the perfect cat-eye with your liquid eyeliner is hard. Styling your hair shouldn’t be. Because for most of us, time or the innate skills required to turn out fabulous, flawless hairstyles are generally in short supply. But that’s really ok. “Right now, it’s cool to wear hair that’s edgy and undone,” declares Matrix Artistic Director Dan Csicsai. Whew! The pressure is off, so set down those clips and curlers and relax with these 10 cute and easy hairstyles for every length, texture and occasion!
-
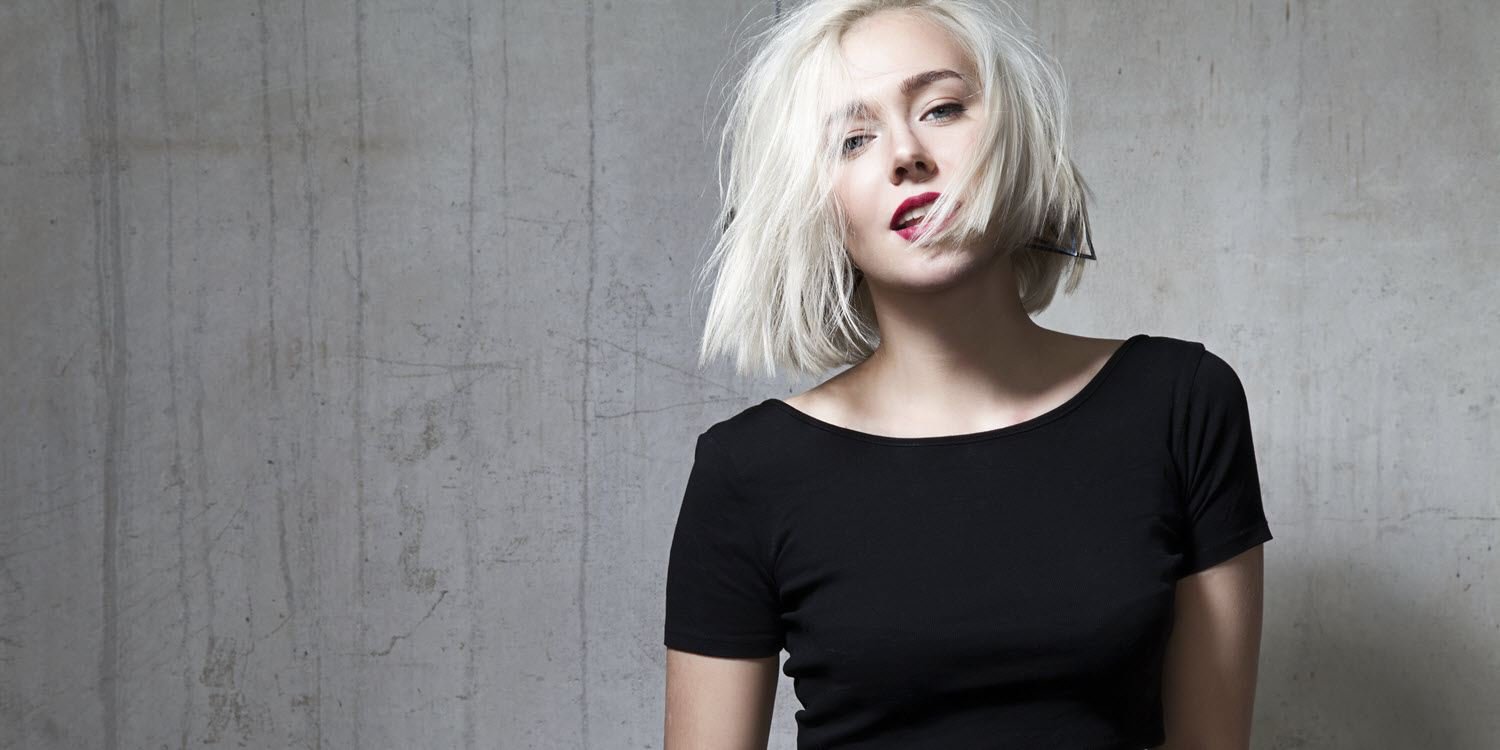
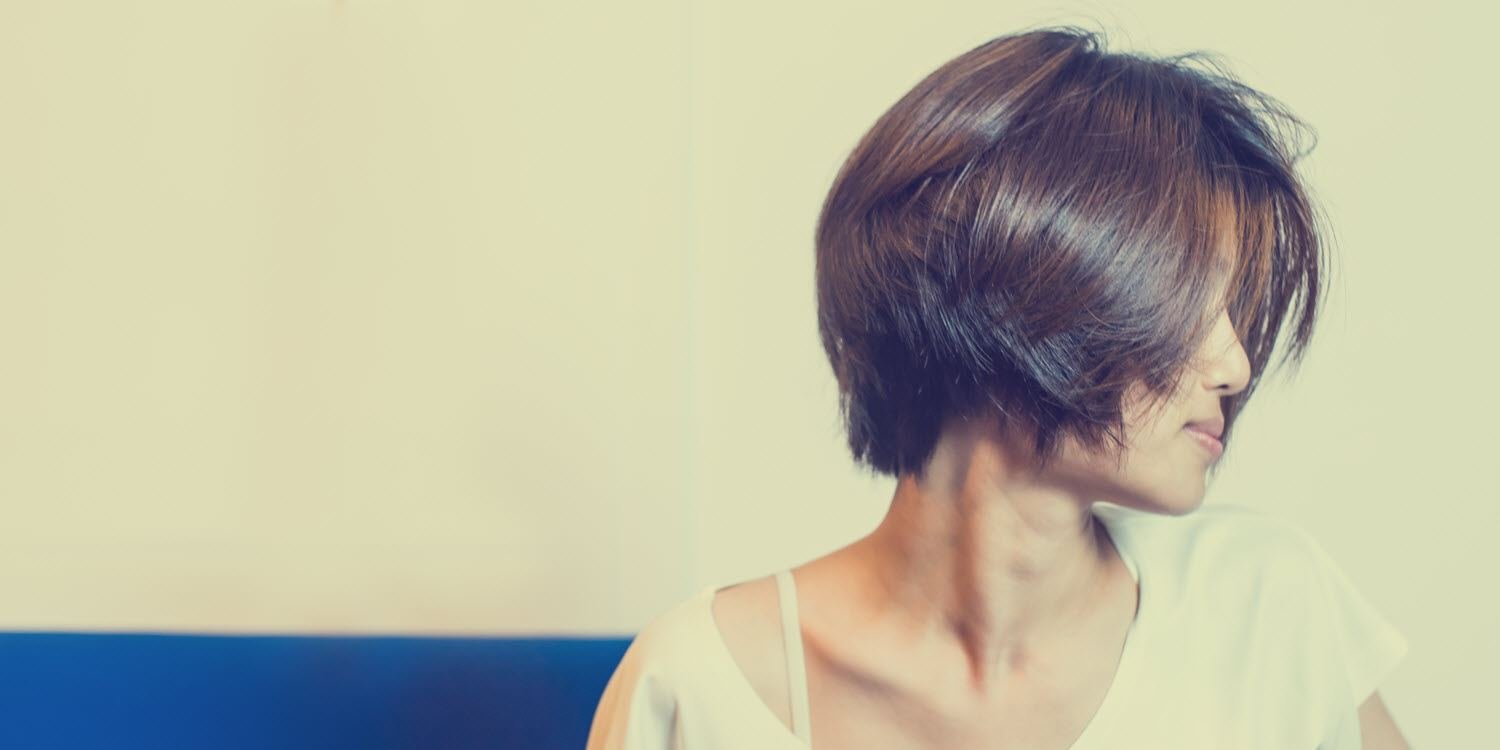
1. The “I Woke Up Like This” Messy Bob
What it is:
A lightly layered, jaw-to-collarbone length cut that just gets better as it gets messier.
Best for:
Fine or medium hair that’s straight or wavy. It’s important for your hairstylist to snip the length and layers to suit your hair type and features.
Pro tip:
Amp up the edginess of this cute messy hairstyle with some attention-grabbing color. Depending on your skin tone, try a shade on one of the extreme ends of the spectrum, like icy platinum, pearl blonde or inky black. Or, explore the pastel zone with an unexpected hue like powder pink, pistachio or pale slate.
Do this:
To style this look, less is more. After shampooing, air dry strands until they’re still slightly damp. Then work in a lightweight styling foam—squeezing it with your hands to work it in thoroughly. Once your hair is completely dry, hit it with a spritz of salt-infused spray to encourage a roughed-up, undone finish.
-
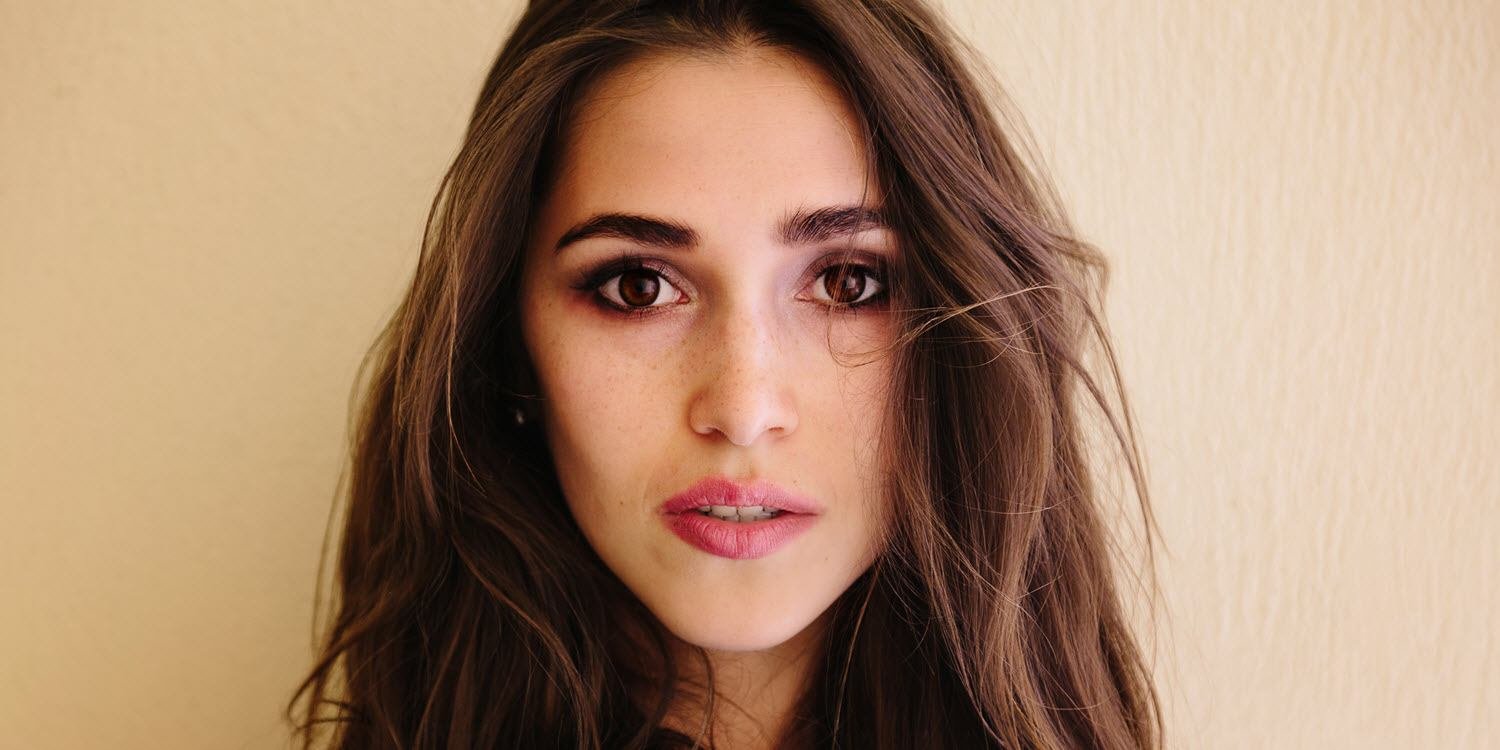
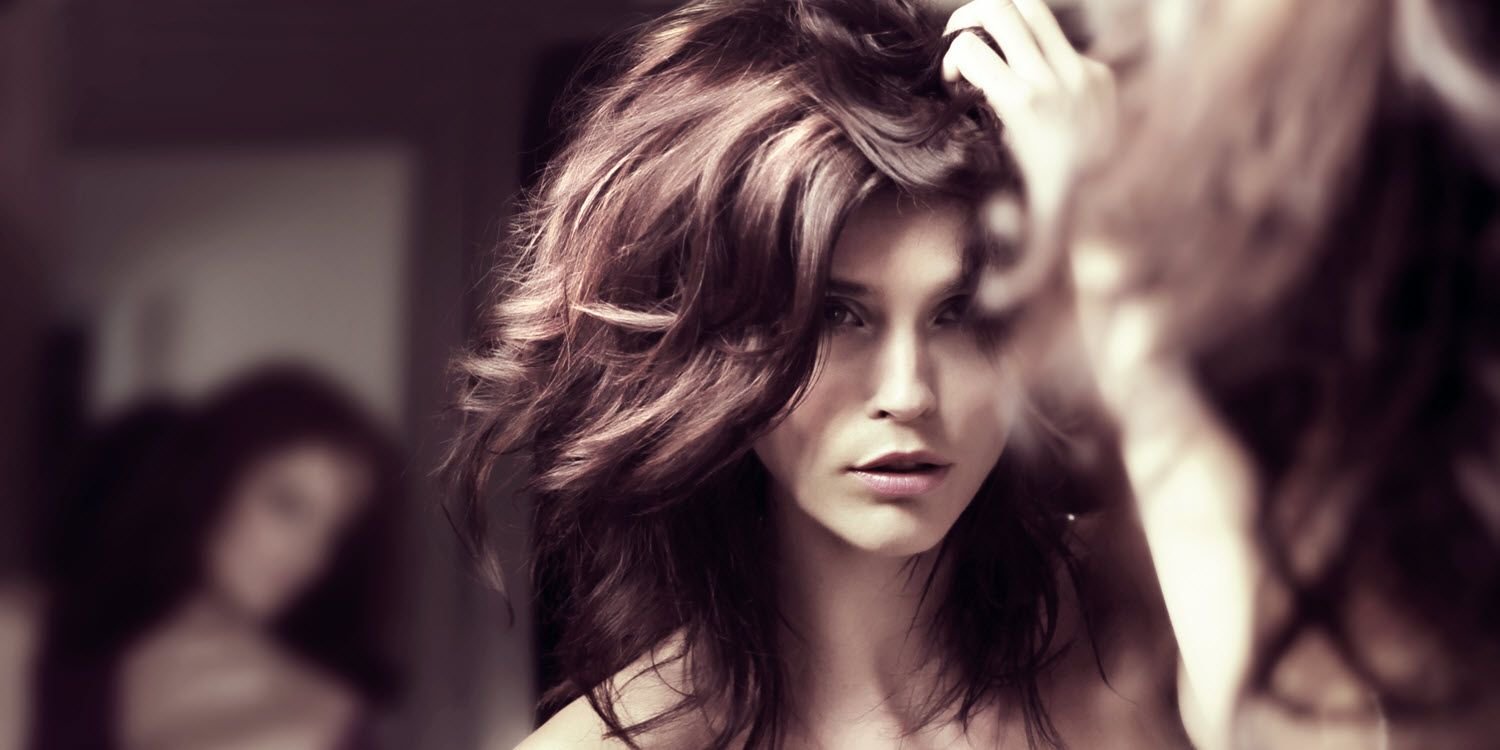
2. Morning-After Wavy Hair
What it is:
It’s flat out sexy, that’s what! The cut grazes the clavicle bone (one of the body’s sexiest spots!) and a few careless, long layers frame your face. A center part adds a Bohemian vibe, and the lived-in texture is 100% on-trend.
Best for:
Medium or thick textures. Bonus points if you have some natural wave in your hair!
Pro tip:
Ask your stylist for a root shadow and balayage highlights. The combination of darker hair at the base and lighter ends gives this cute hair style instant “It Girl” cred.
Do this:
Unless your hair is pin-straight, the key to creating this wave is coaxing the most out of your natural texture.
Work a lightweight styling cream through your damp locks, and then twist your hair into a bun or braids. Once it’s dry, rake through with your fingers. If you have some flyaways, hit them with a bit more styling cream.
-
3. The Razored Bob
What it is:
One-length bobs are classics—crisp and polished. This bob is gennext—it’s longer and the ends are roughed up with a razor, which puts a perfectly imperfect spin on the whole thing.
Best for:
Medium to thick hair that’s straight or wavy. Curly girls should skip this one!
Pro tip:
Highlighting one-length hair prevents it from looking flat. Your stylist should concentrate on highlighting the bottom two-thirds of select strands, as well as the sections around your face.
Do this:
Resist the blow-out! To achieve this beautiful bend in your hair, mist it with a thickening spray when it’s damp, and let it air dry. Then, if the waves need definition, use a flat iron or wand—concentrating on the midsections and omitting the ends--to refine the shape of this cute hairstyle.
-
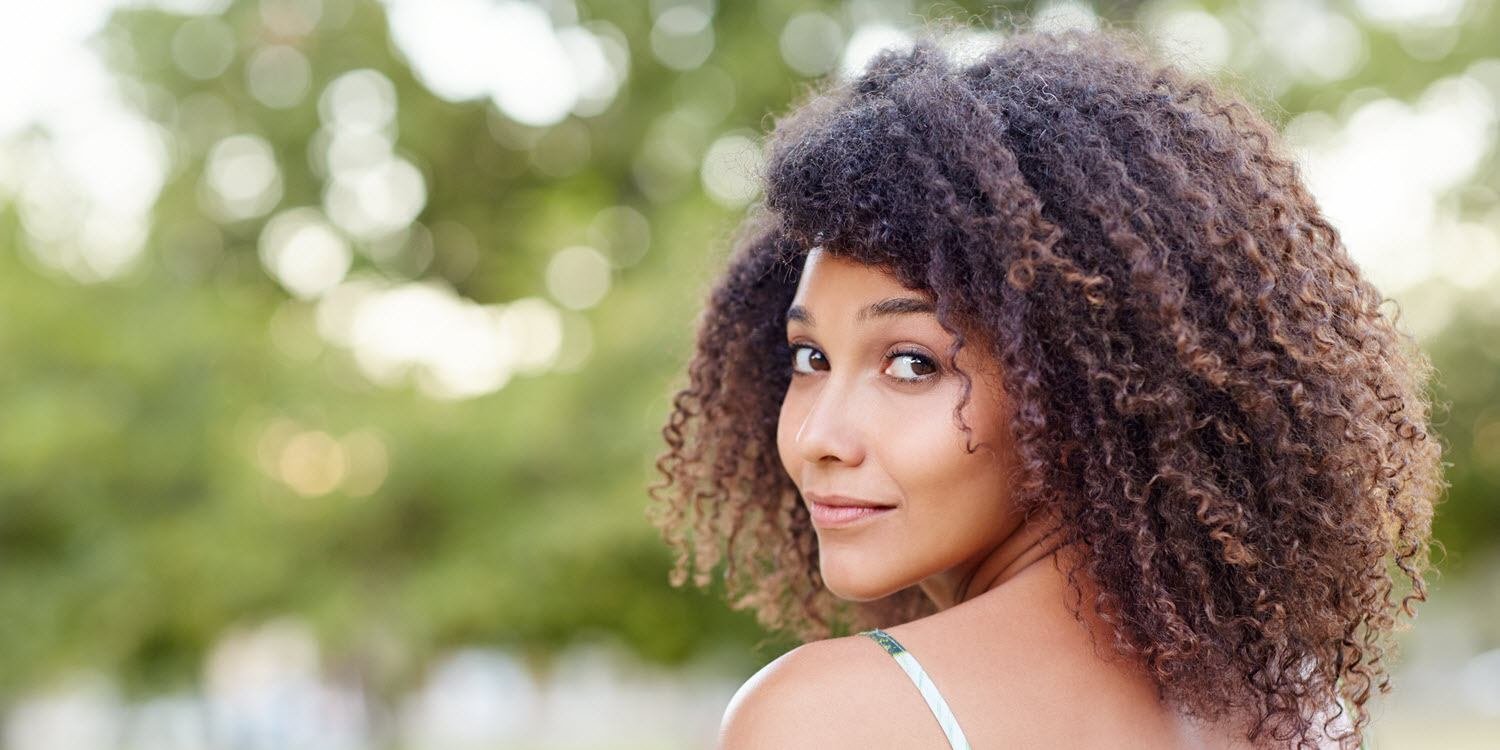
4. Curly Hair With a Twist
What it is:
Got curls? This rounded cut with lots of layers allows them to form a gorgeous halo of magnificent coils!
Best for:
Naturally curly textures.
Do this:
To create curl consistency without frizz, apply a rich styling cream to damp hair. Divide your hair into sections, then split each section in half and twist the halves around each other. Use a diffuser, hood dryer or sunshine and air to dry your locks, then gently untwist each section and unfurl your curls! Mist with an oil-infused spray to keep fuzzies at bay.
-
5. Parisian Pixie Cut
What it is:
They say nothing’s as low maintenance as short pixie hairstyle…and they’re right. With the right cut, a few flicks of the fingers are all it takes to achieve massive, effortless style. Soft graduation at the nape and long layers throughout the top provide the perfect pairing of femininity and ease.
Best for:
Fine to medium hair that’s straight or wavy.
Pro tip:
Short hair is pretty healthy since it’s cut frequently and doesn’t require lots of hot tools for styling, so go ahead and go for it when it comes to your color! Lighten, highlight, change it completely—why not?
Do this:
The pixie cut does most of the work when it comes to this hairstyle—you can basically just comb it into place. For a bit more polish, apply a styling cream or paste to damp hair with a bit of styling oil on the ends. Hit it with a blow dryer as you direct the back and side sections with a vent styling brush. Then with the brush, wrap the longer, top section around your head, first in one direction, then the other, until dry.

-
6. The New Shaggy Hair
What it is:
Lots of layers and a heavy fringe are customized to make the most of your natural texture. The result? A rocked-out shape that’s a no-brainer when it comes to styling.
Best for:
Medium to thick hair that’s wavy or curly.
Pro tip:
This cut works on a variety of lengths, from chin-grazing to shoulders to chest. Because there are so many interior lengths, stick to solid colors—too many highlights will give the look a “jumpy” effect.
Do this:
Combine a styling mousse with styling oil or cream in your hands. Work the mixture into your hair in small sections, squeezing it into the hair so it’s distributed evenly. Start at the bottom and work up. Then dry each section with a diffuser, or allow to air dry. Smooth your bangs with a flat brush and blow dryer, or simply place them with your fingers.
-
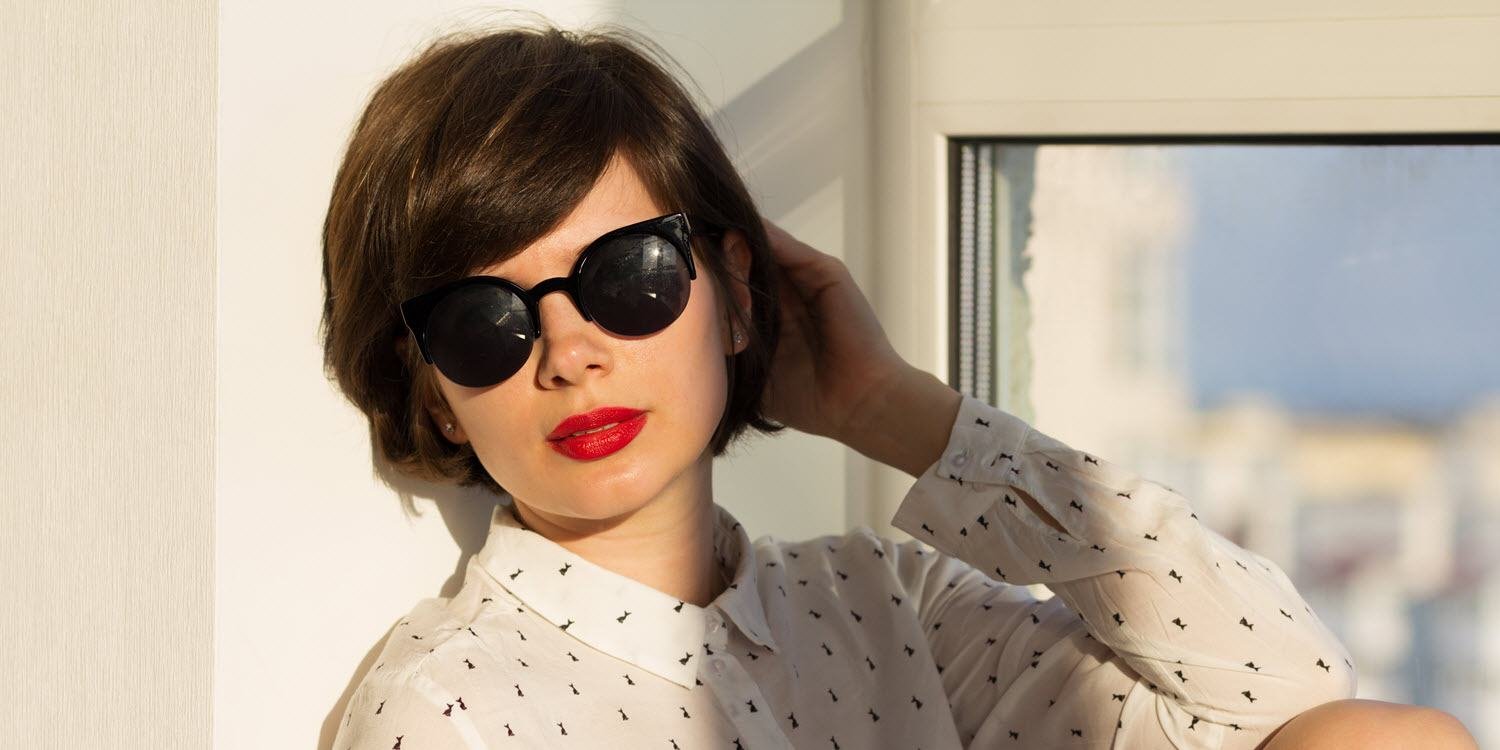
7. French Girl Bob
What it is:
Structured lines are softened by internal layers and a choppy fringe. The jawline-length is edgy/chic. For a stronger, Amélie vibe, consider shorter, jagged baby bangs.
Best for:
Any hair type or texture.
Pro tip:
Pick a length that’s flattering to your jawline and face shape. If your jaw is soft and your face is round, for example, keep the length a bit below the chin.
Do this:
Skip the round brush—the shape will become too fluffy. Instead, mist damp hair with texturizing or volumizing spray. Blow dry each section with a cushioned, vented styling brush, turning the ends under slightly. Once dry, mist with more texturizing spray and tousle your hair with your fingers.
-
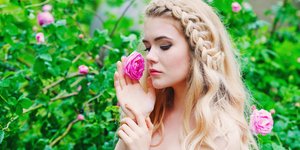
8. Braided Headband and Beach Waves
What it is:
A quick and easy strategy for your next wedding at the shore!
Best for:
Anyone who wants to rock a Bohemian look.
Pro tip:
Beach waves always look better with beachy highlights. Ask your stylist to add lighter pieces throughout your ends.
Do this:
Mist dry hair with a working hairspray. Starting about two inches from your scalp, wind large sections around a 1 ½ inch curling iron, twisting each section as you wind, spreading it evenly along the length of the barrel and leaving out the ends. Hold for 10 seconds, drop the curl in your hand, pause, then release and tug at the end to stretch the curl. Once the waves are complete, part your hair in the center and create two thick sections on each side of the part in front. Braid each section from top to bottom and secure with a small elastic. Tuck the ends of each braid underneath the rest of your hair and secure with bobby pins.

-
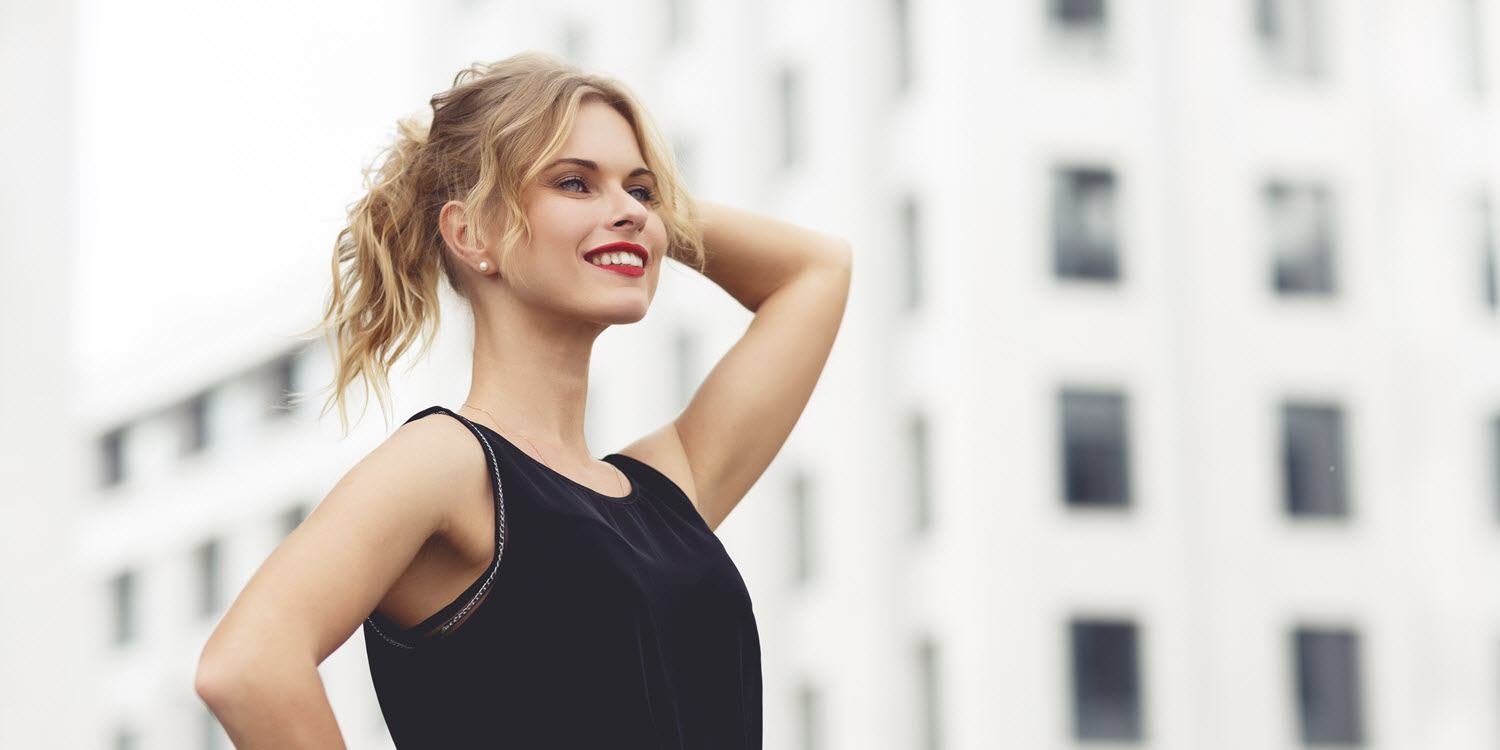
9. Glam Ponytail
What it is:
Who says special occasion hair has to be complicated? Here’s a glam take on the classic ponytail.
Best for:
Any hair type. If your strands are fine, add a few extensions to beef up your pony.
Pro tip:
For a softer effect, loosen tiny strands around the face and let them float freely.
Do this:
It’s all about the prep, so start by misting hair with texturizing spray, and curling it section by section with a 1 ¼-inch curling iron. After releasing from the iron, hold each curl for a few seconds in your hand before letting it drop. Once the set is finished, allow your hair to cool completely. Then brush through gently with an oval-shaped cushioned styling brush to blend the curls. Gather all of your hair in a high ponytail and secure with elastic. Use a piece of hair from the pony to camouflage the elastic. Take the pointy side of a tail comb, slide it under the top section and lift to create volume and texture. Mist with flexible hold hairspray to manage flyaways.
-
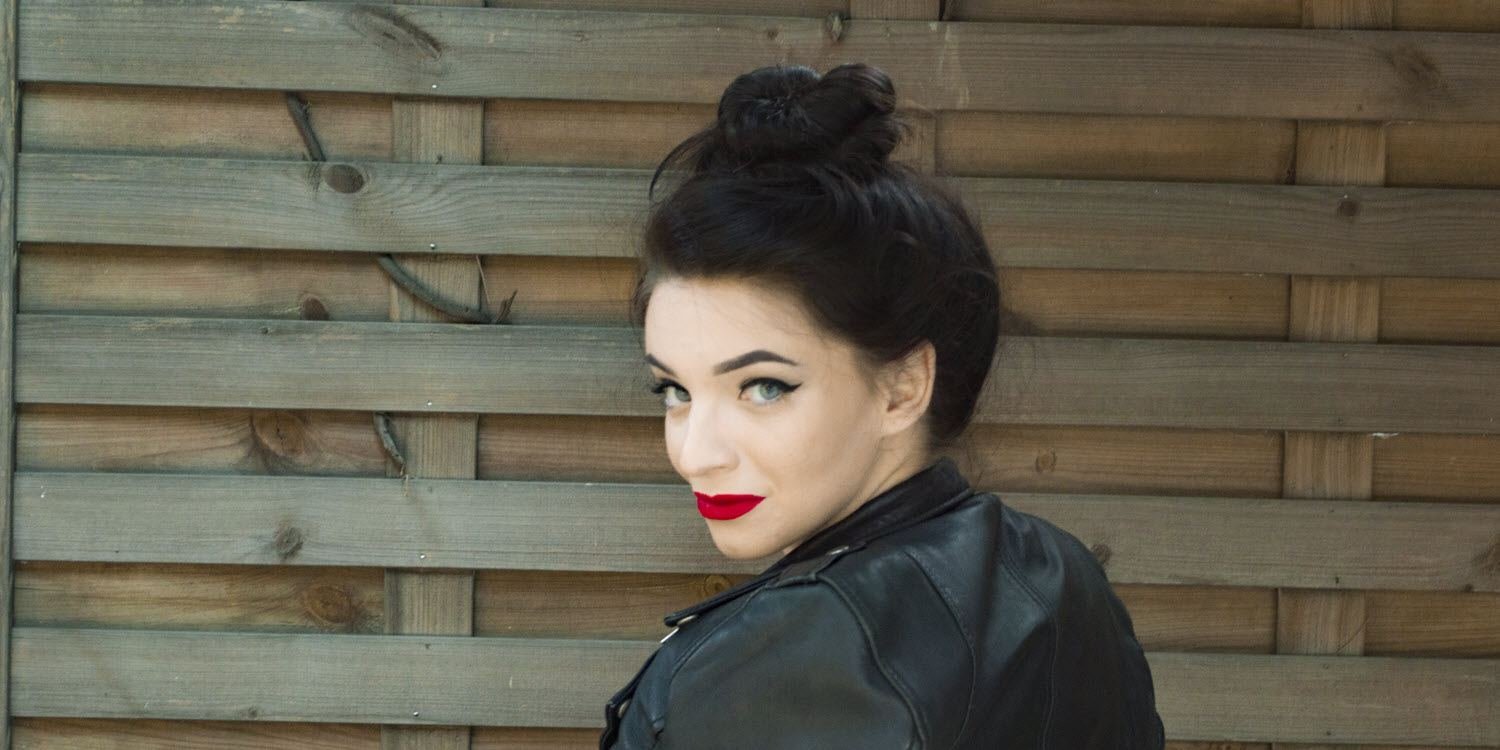
10. Easier-Than-It-Looks Hair Bun
What it is:
A truly messy bun that takes no time to create. The secret to this style is not to overthink it!
Best for:
Any hair type. If your hair is super straight, add some curl or wave before you create the bun.
Pro tip:
When teasing or backcombing, place the comb underneath each section so the top remains smooth.
Do this:
Make an oval shape section from temple to temple that divides your hair top and bottom. Lift the top and tap a bit of volumizing powder onto the roots. Backcomb large sections all over to create volume. Grab your hair into a low, loose pony, then twist the pony into a messy bun. Secure the bun with a clear elastic. Then grab the ends that aren’t secure and pin them into the bun with bobby pins. Allow a few pieces to fall around your face. Gently lift the top with your fingers to loosen, then loosen the bun. Mist with hairspray.