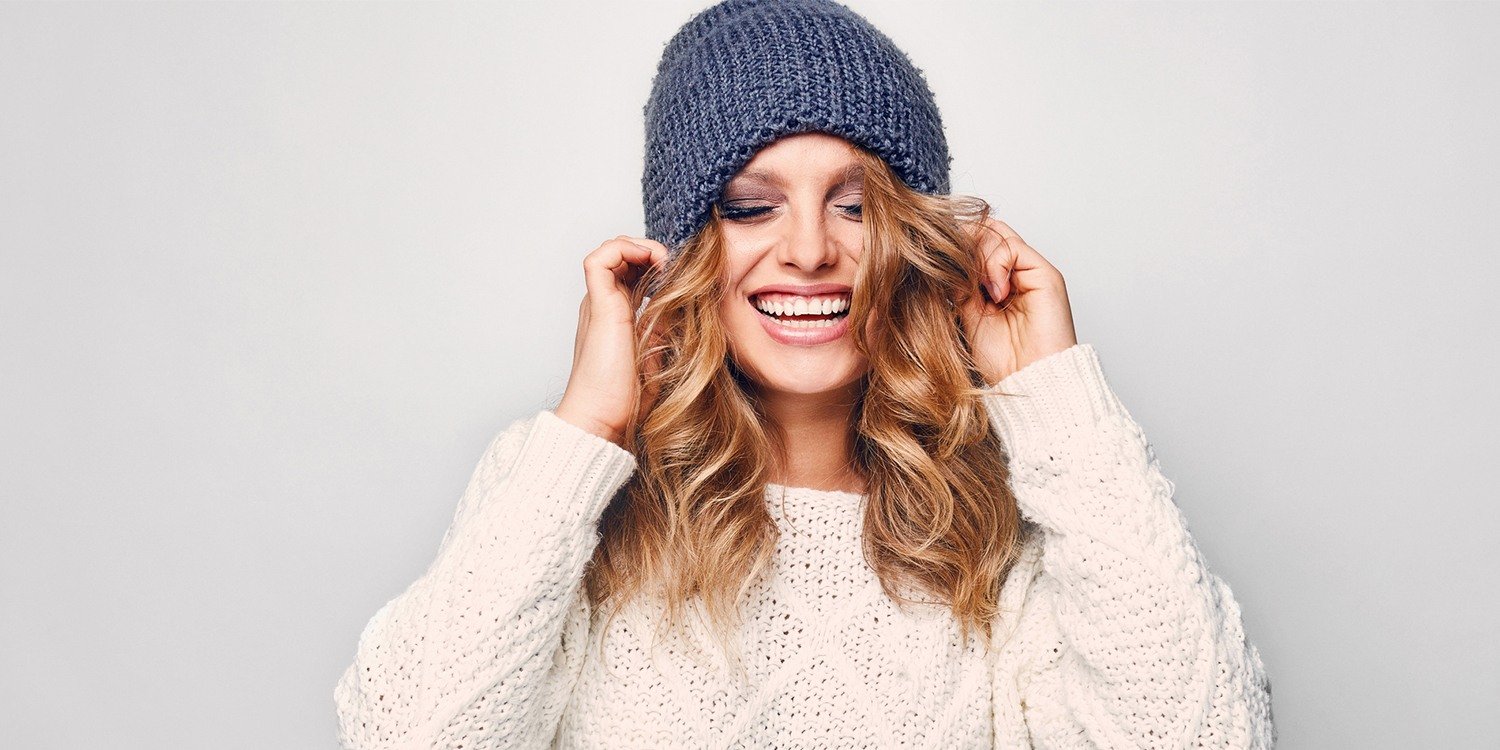
Discover the 8 Best Hair Styles for Hats
Whether you’re cheering on the ponies at the Kentucky Derby, donning a fancy head piece for your wedding, meeting the Queen of England or simply steeling yourself against a freezing cold winter day, there’s likely to be a hat for the occasion. And the question when wearing a hat is often—what about my hair?
Don’t worry—the hat hairstyle pros at Matrix have got you covered. First, a few tips:
-
Go low. Your hat will mask whatever is going on above your ears so keep the hair focus below your ears.
-
Frame your face. A few loose tendrils or a peek-a-boo fringe will soften the look of your hat hair style and keep you looking feminine.
-
Prep for hats off time. Apply a volumizing root booster and backcomb the top of your hair before donning your chapeau so that when you remove it, your hair won’t fall flat.
Now, ready to grab your beanie, beret, fedora, etc.? Here are eight stylish ways to wear your hair when you’re wearing your favorite, stylish hats.
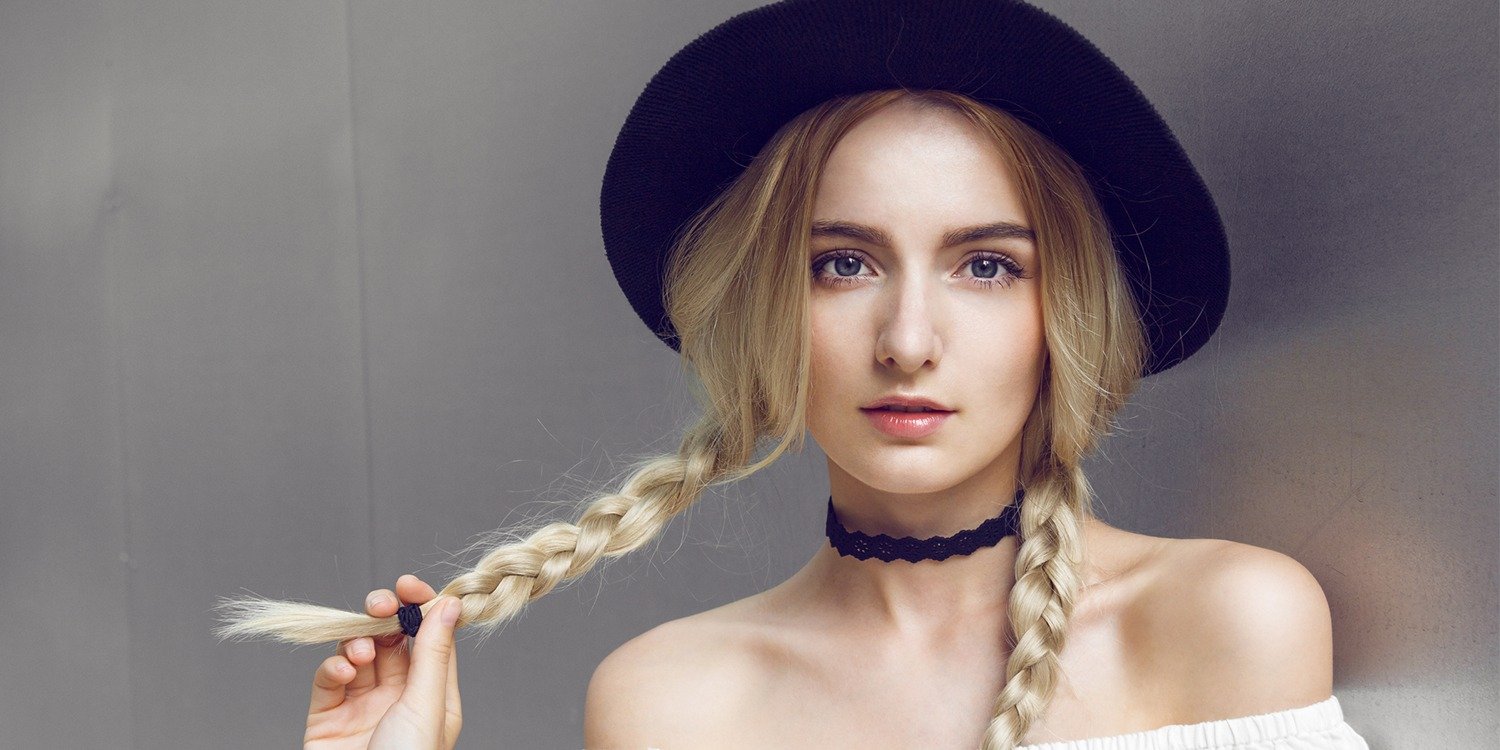
Accent Braid
A fairly thick braid nestled in loose waves is the perfect “accessory” to complement a hat. A messy fishtail braid is a great choice for eye-catching texture.
Do it like this:
-
Create a wavy “base” shape by winding vertical sections of hair around a large curling iron.
-
Create a side part and isolate a fairly thick section of hair about three inches from the front hairline, on the “heavy” side of the part.
-
Divide the section in equal parts—A and B.
-
Take a small amount of hair from the back of section A, cross it over the front of section A and incorporate it into section B.
-
Take a small amount of hair from the back of Section B and cross it over the front of Section B and incorporate it into Section A.
-
Repeat this nearly all the way to the bottom of the section, and secure the braid with an elastic.
-
Stretch the braid out at the sides to loosen the shape. Change up the tension—keeping some loops tighter and making some looser—for an easy, organic braid.
Straight and Sleek
Admittedly, this one’s pretty easy. But the secret is to really put some effort into smoothing your hair so it looks polished and controlled under the brim.
Do it like this:
-
Apply a treatment oil or smoothing cream to clean, towel-dried hair.
-
Divide your hair into horizontal sections—top, center and bottom. Clip away the top two sections. Create more horizontal sections if your hair is thick/full.
-
Beginning on the bottom, divide your hair into subsections. Place a subsection on top of a large round brush. Place a nozzle on the end of your blow dryer, point the nozzle downward, turn the dryer on and move it along the section from top to tip, in tandem with the brush. Repeat until the section is completely dry.
-
Work around the bottom, section by section, in this manner. Then release the section just above and repeat.
-
Continue drying and releasing each horizontal section until your hair is completely dry.
-
Resection your dry hair as before and mist the bottom section with a thermal protection spray.
-
Create small subsections like before, and smooth each one with a flat iron. Continue releasing each horizontal subsection until every section is smooth. Mist with a shine-enhancing spray.

Conventional Side Braid
Gathering your hair in a loose, casual side braid is a great way to contain it under your hat. Start low and loosen the plaits once you’re finished for a cool, “I woke up like this” vibe.
Do it like this:
-
Bring all of your hair to one side.
-
Divide it into three sections and create a conventional, three strand braid, starting well below your hat.
-
Secure the end with elastic.
-
Go back to the top and gently tug on the sides of each braided loop to expand and loosen the shape.
Knotted Side Ponytail
The trick to this casual pony is creating the right texture in the tail. To get imperfect, deconstructed waves, layer a dry finishing spray over a sea salt mist.
Do it like this:
-
Apply sea salt spray to damp hair and rough dry with a blow dryer, twisting one-inch sections with your fingers to add movement.
-
Mist all over with a dry finishing hairspray.
-
Pull all hair to one side.
-
Divide the side pony into two equal sections. Bring the back section underneath the front section, keep the two sections separated and loop the ends of one section up and through the hole in the center. Pull the ends just as if you’re tying a knot. Repeat once more if you want, or secure the single knot with an elastic.
- “Backcomb”
the tail with your fingers to expand the texture.

Angel Curls
Frame your face with a “halo” of darling curls that peek out from under your hat.
Do it like this:
-
Divide your hair into horizontal sections, bottom to top, and clip away all but the bottom section.
-
Create a slender subsection in the front. Spiral the hair vertically around a long, skinny styling wand, starting at the scalp and continuing all the way to the end
. -
Release the curl. Continue curling your hair around the entire bottom section. If you want, switch to a slightly larger styling wand for the center subsections, keeping the strands around your hairline more tightly curled.
-
Release the next horizontal section and continue. Work up the head until all of your hair is tightly spiraled.
-
Once your hair is completely cool, tip your head forward and begin loosening and breaking up the curls with your fingertips. Bring your hair forward and continue fluffing. Backcomb a few curls with your fingers for a flossy texture until you’ve created the desired amount of volume.
Piglets
Try a tucked-up pigtail style to contain long hair.
Do it like this:
-
Divide your long hair in half and loop an elastic around each base once.
-
On the second loop, create a hole and loop the hair length through, creating a small bubble, and secure.
-
Expand the bubble, bring the remaining lengths up and pin them to the top of your head.
-
Repeat on the other side and cover the lengths with your hat.
Flawless Waves
You can’t go wrong with beautiful, shiny waves—they’ll do any hat proud. Bonus? You just have to curl the sections below the hat, which saves loads of time!
Do it like this:
-
Spray dry hair with a heat protectant.
-
Divide your hair into vertical sections. If it’s thick, divide your head in half—top and bottom.
-
Using a bubble wand styler, place the wand downward vertically and wind each section around the bubble surface. Start about halfway down the strand since the top of your hair will be covered with your hat. Wind the hair around the wand, all the way down to the ends.
-
Hold for a few seconds and release, tugging the end of the hair gently to loosen the curl.
-
When all sections are curled and cooled off, go back section by section, lift each one and backcomb underneath at ear level to create fluffy volume and blend the waves.

Un-Done Lob
Do it like this:
-
Apply a volumizing spray to all hair, in small sections, to plump up fine texture.
-
Part your hair from ear to ear and clip away the top.
-
Gently backcomb the roots on the bottom section and mist with a flexible hairspray.
-
Subdivide the bottom into large, vertical sections.
-
Wrap each section around a large-barrel, clipless iron. Hold the iron downward and wrap the hair away from the face. Place the iron in the center of the section and wrap the hair one turn, omitting the ends. Release the hair and allow it to cool.
-
Divide the next section in half and clip away the top. Repeat the iron set described above.
-
Release the top and divide it horizontally. Place the iron in the center of each subsection and wrap the hair back, away from your face.
-
When your hair is completely cool, rake through with your fingers to blend the waves, and finish with a light-hold spray.