Mastering the Spellbound Look: Cut, Teasy Lights, and Toning Techniques for Stylists

- Table of Contents:
- Introducing the Matrix Spellbound Lowkey Collection
- Face-Framing Fringe for Fall
- Get The Look: Cutting and Coloring for the Spellbound Look
- Matrix YouTube Education
- Summary:
- Master precision fringe-cutting and face-framing layers to instantly customize a client's bone structure, proportions, and overall silhouette.
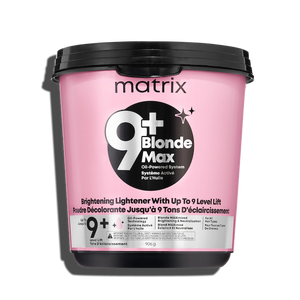
- Utilize strategic macro-weaves, backcombing with Blonde Max 9 Plus, and angled foils to achieve a seamless, lived-in blonde look without harsh lines of demarcation.
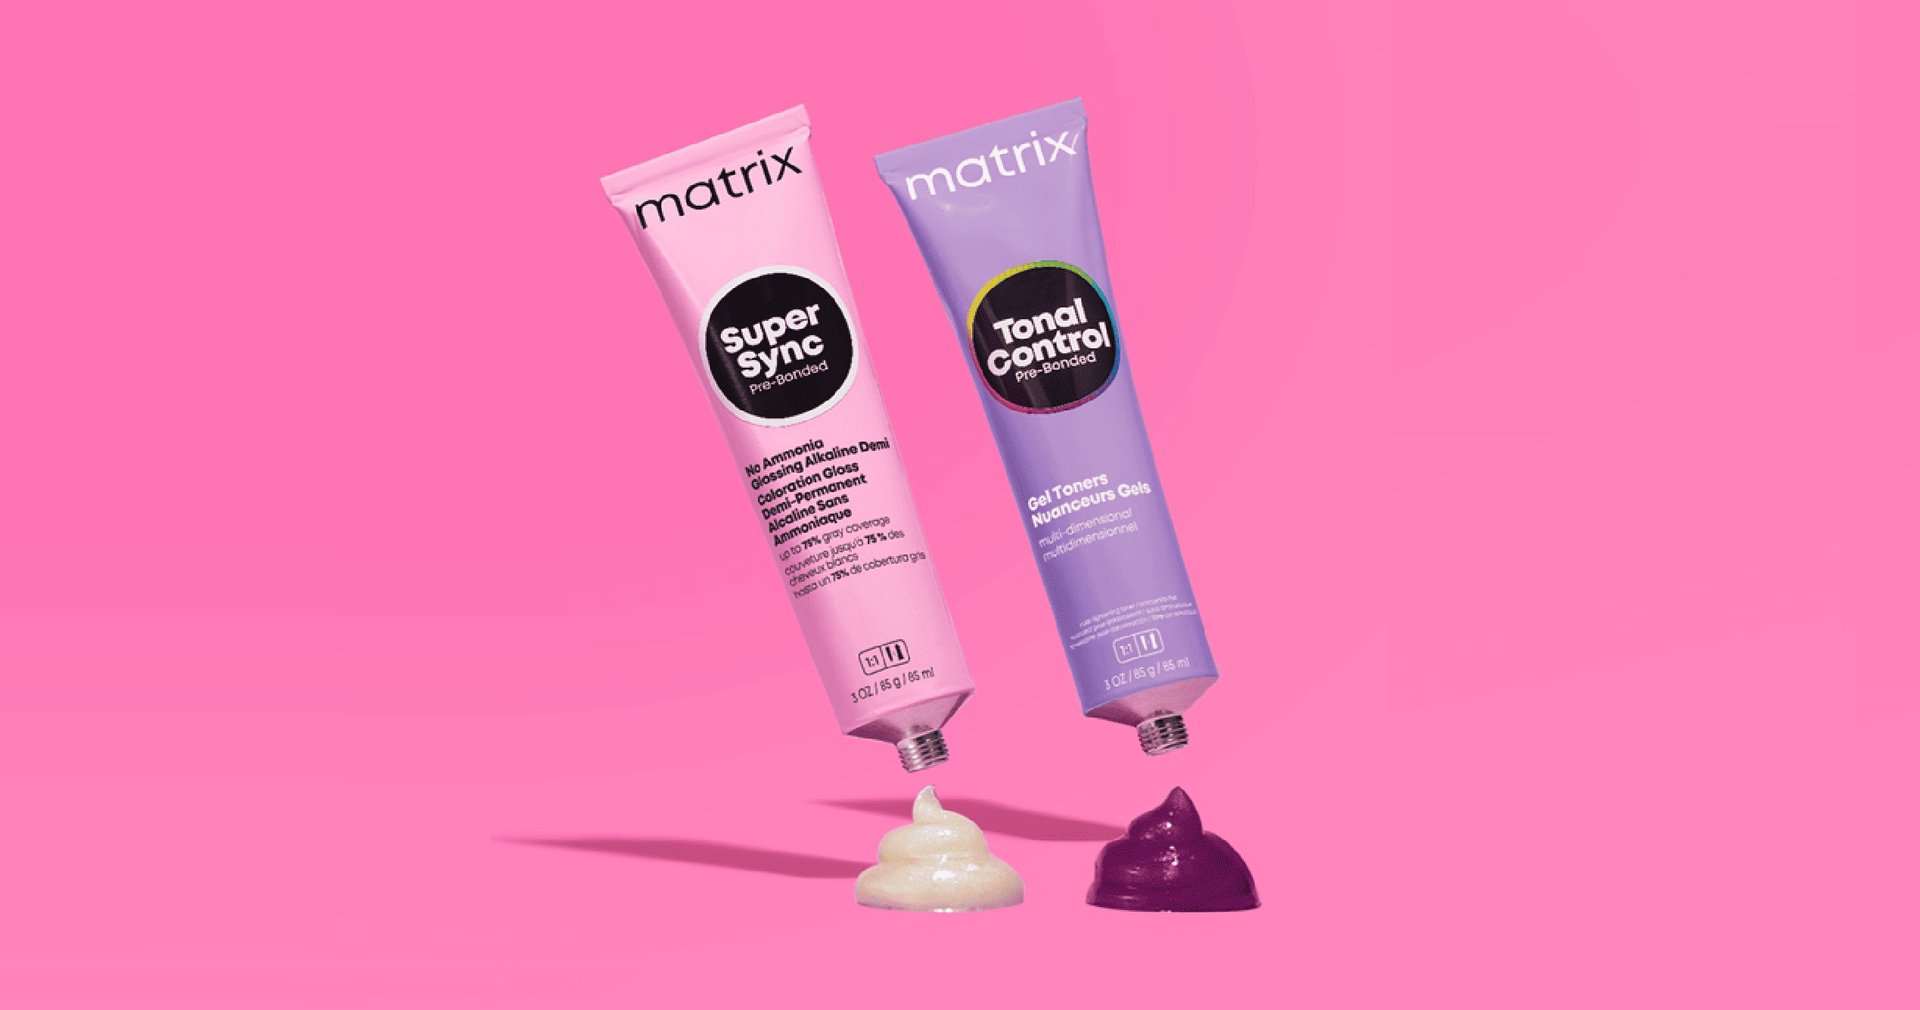
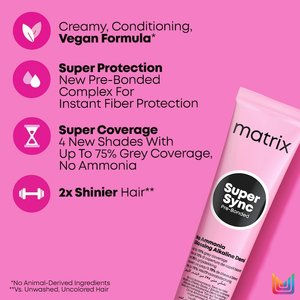
- Lock in rich depth and high-impact dimension using SuperSync 7N for root shadowing, a hairline root tap, and SuperSync 10 GV for glossy, saturated ends.
Introducing the Matrix Spellbound Lowkey Collection
Autumn is all about transformation, and Matrix’s latest seasonal cut and color collection—the Spellbound Look—delivers on-trend mystical vibes tailored for clients craving a chic, low-key update.
Designed specifically for hair color professionals and stylists, this collection covers everything from precision fringe-cutting to strategic foil placement and seamless toning.
The Spellbound Fringe and Face-Framing Haircut
A strategic haircut remains the ultimate transformative tool in the salon chair, instantly redefining a client's silhouette, proportions, and overall aesthetic. Beyond a routine trim, altering length, weight distribution, and perimeter shapes can completely shift a look, offering an empowering visual and emotional reset. For stylists, understanding how structural shifts interact with natural fall and texture allows you to completely reinvent a client's everyday style, making a precision cut just as powerful a canvas for creative expression as color.
Of the many hairstyles out there, fringes and face-framing layers remain a cornerstone of modern salon demand, offering clients an instant, high-impact refresh that customizes any haircut to their unique bone structure. For stylists, mastering these techniques is essential because they provide a versatile framework to accentuate features—such as the eyes, cheekbones, or jawline—while seamlessly bridging the gap between precision cutting and dimensional color placement. Whether opting for soft, diffused curtain bangs or bold, textured perimeter pieces, face-framing elements deliver the effortless, lived-in movement that today’s clients continually crave. Matrix artist Tobias Bell, known for his uncomplicated teaching style and brilliant eye for detail breaks down complex layering and coloring techniques so you can confidently recreate them in your own salon.
Cutting and Coloring for the Spellbound Look
Step 1: Precision Cutting - The Fringe & Face-Framing Layers
A great color application always starts with a strong architectural foundation.
- The Fringe Foundation: Take a clean center profile parting from the front hairline to the nape, combined with diagonal forward sections to mid-recession to isolate a perfect triangle.
- Customizing Length: Comb the fringe straight out and determine the starting length based on the client's features (placing it between the nose and lips works wonders). Use a razor or scissors to establish your central guide, fanning out toward the corners.
- Elevation Rules: Remember that elevation dictates texture. Lower elevation creates strong, sharp lines (like a classic bob), while higher elevation diffuses the line for softness.
- Face-Framing Connection: Take 1-inch diagonal back sections starting from the fringe to the top of the ear. Blend these layers seamlessly into the perimeter, angling toward the body for soft framing or back toward the shoulders for a heavier, textured vibe.
Step 2: Precision Cutting - The Fringe & Face-Framing Layers
To achieve that seamless, grown-out lived-in feel without harsh lines of demarcation, the foil placement relies on strategic macro-weaves and backcombing.
- Sectioning: Split the head with a center profile parting and radial partings from the crown to the top of the ears.
- Teasing for Softness:Working in diagonal back sections, take a thicker macro-weave and gently backcomb the base. This diffuses the line of demarcation.
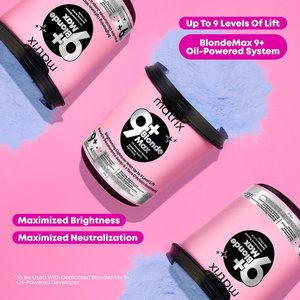
- Lightener Application: Using Blonde Max 9 Plus mixed with a dedicated 20-volume developer, apply from mid-lengths to ends, feathering up toward the foil. Pro Tip: Avoid getting lightener on the backcombed hair to prevent breakage and maintain clean results.
- Strategic Foil Placement:Combine micro-weaves at the hairline with macro-weaves along the low recession and fringe to pop brightness where it matters most, using angled placements around the top to keep the face glowing while the back maintains a soft, natural melt.
Step 3: Root Shadow & Gloss Toning
Once the hair is shampooed and conditioned, quadrant the hair once more to lock in the final dimensional tone.
- Root Shadow: Starting in the back quadrants with 1-inch diagonal back sections, apply SuperSync 7N with 10-volume as a root shadow about 2 inches down to introduce rich depth. Use a wide-tooth comb to gently diffuse the blend.
- Hairline Root Tap: Disconnect about 1 inch from the front hairline and apply a half-inch to 1-inch root tap to preserve face-framing brightness.
- Glossing the Ends: SuperSync 10 GV through the remaining mid-lengths and ends. Massage thoroughly for complete saturation, process for 20 minutes without heat, and blow-dry to reveal the final masterpiece.
Take Your Skills Further
Ready to bring the Spellbound collection to your chair? Check in with your local education team or distributor for hands-on classes and head over to the Matrix YouTube for additional knowledge.