6 Hair Styles We Love For Natural Hair

The Half Up Updo:
This is a classic, and on coiled hair it exudes loads of sassy personality! Do this: After defining your curls, create a triangle shaped section that begins above each ear and ends just below your crown in back. Part the top section just off-center. Loosely bundle each side of the top section and secure both halves at the tip of the triangle in back. Gently loosen the top sections with the end of a tail comb, or with your fingers, to create volume on top.
Coiled
Let Your Hair Down

When it comes to styling natural hair, you have a vast range of options. It’s a bit like sculpting—you’re working with form and space to create a beautiful shape. Here, Matrix experts reveal their favorite hairstyles and how-tos for three overall types of natural hair—wave, curly and coily—along with smart tips to ensure style perfection for any type of texture!
5 Tips for Every Natural Hair Style
No matter what your natural texture, a few smart moves will make all the difference when it comes to your finished natural hair style!
-
Brushes? Not so much. A wide-tooth comb or your fingers are the best detangling tools for your hair when it is wet.
-
Product is essential, but try not to overdo it. Styling creams, gels, conditioners, mousses are all your friends. They control and contain unruly curls. But avoid going overboard. Too much of anything can lead to crunchy, weighed-down hair.
-
Trim frequently. Fragile curls split easily and split ends lead to fuzzy-looking results. Visit your hairstylist at least every six to eight weeks for a trim.
-
Choose products carefully. Because your hair type does not need frequent shampooing, your styling products will likely be in your hair for several days. So opt for products that are free from excessive amounts of alcohol or silicones and loaded with moisturizing, nourishing ingredients.
-
Do the “pineapple.” Before bed, loosely gather your curls at the top of your head. This will protect your curl pattern and maintain volume when you release your pineapple the next morning.
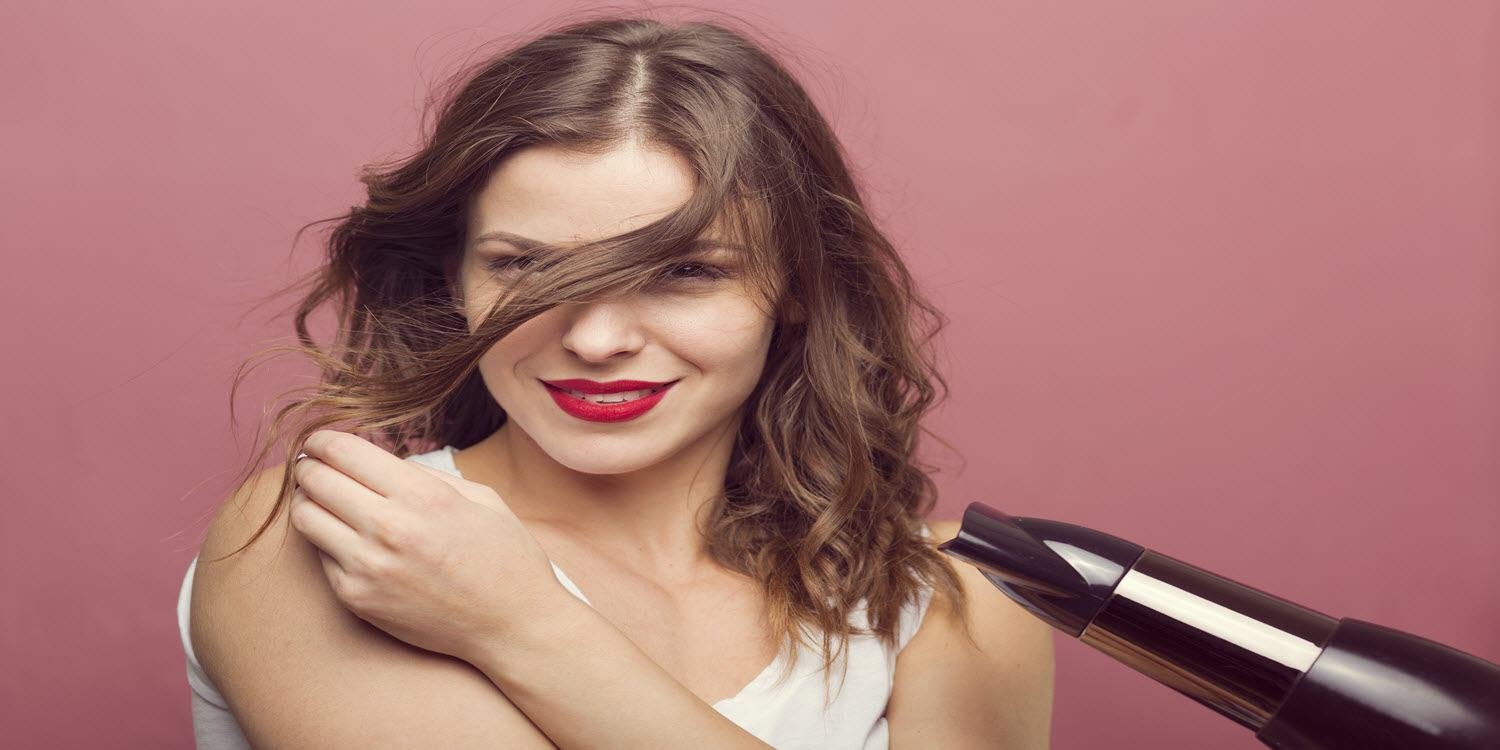
Wavy:
Let Your Hair Down
Flowy Waves:
Naturally wavy hair tends to be inconsistent—tighter in some areas, looser in others. So if you’re going for a loosely-waved result, it’s all about refinement. The object is to create uniform shape and silky texture.
Do this: Start with dry hair, and divide into one-inch square sections. Wrap each section around a half-inch or quarter-inch iron, away from the face. Slide the iron out of the section, keeping the curl intact, then grasp the bottom and pull downward to stretch the curl. Once the entire head is curled, stretched and cool, rake through with your fingers, working in a bit of styling oil or serum for shine and frizz-control.
Put Your Hair Up

Head Band Pile Up:
When it comes to upstyles, curly girls have a huge advantage. A wavy or curly texture provides tons of support and volume that your straight-stranded sisters can’t claim. A slightly imperfect, sky-high pile of waves or curls, lashed with a headband (or two) is the coolest way to style your textured hair for any occasion. Do this: Divide your hair into three horizontal sections--the first one two inches back from your hairline, a center/headband section and the back of your head. Twist the back section vertically and pin it to secure. Tease the center section. Smooth the front section over the teased center section and place a headband a few inches behind the hairline. Place another headband behind the first, anchoring both in the teased section. Allow some stray hairs to float and frame your face. Use your fingers to gently loosen the hair between the headbands.
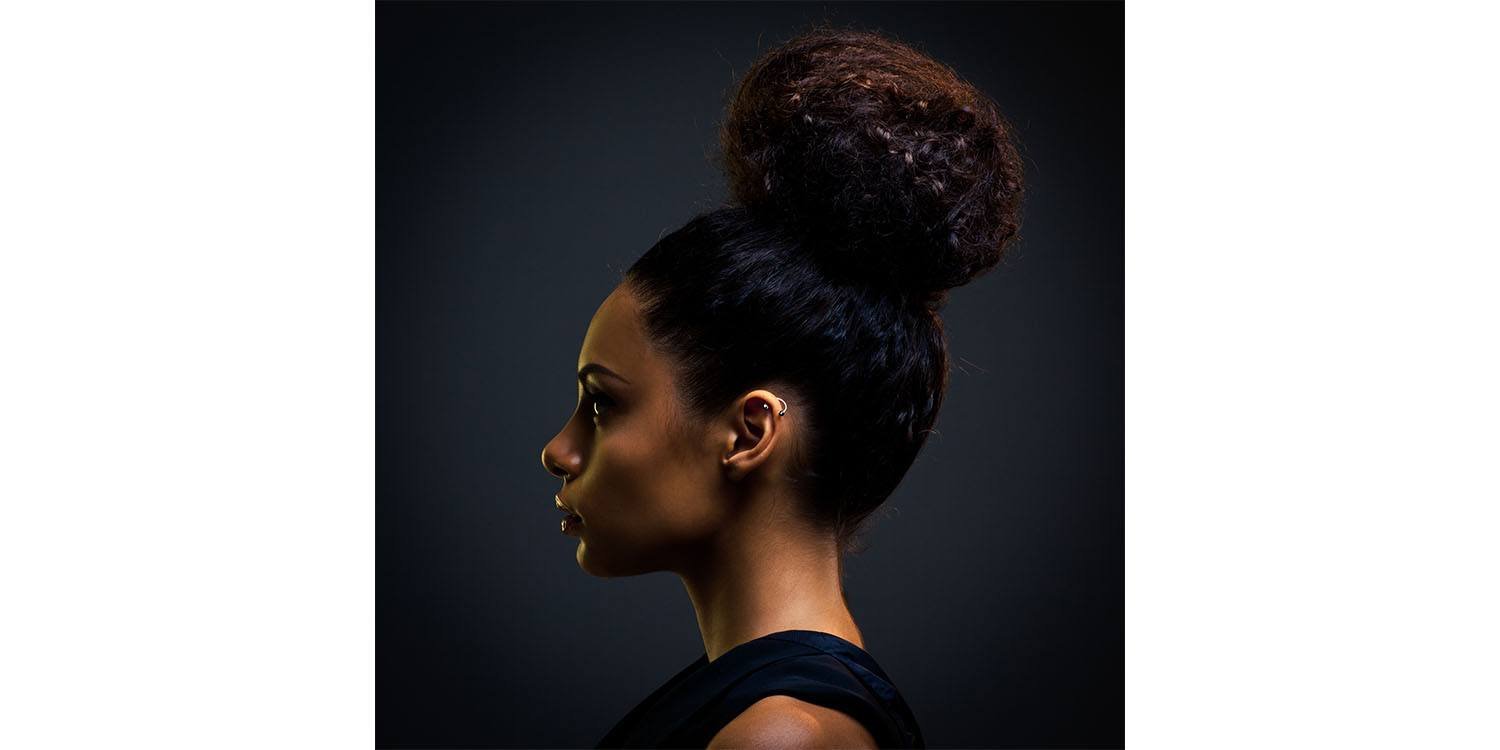
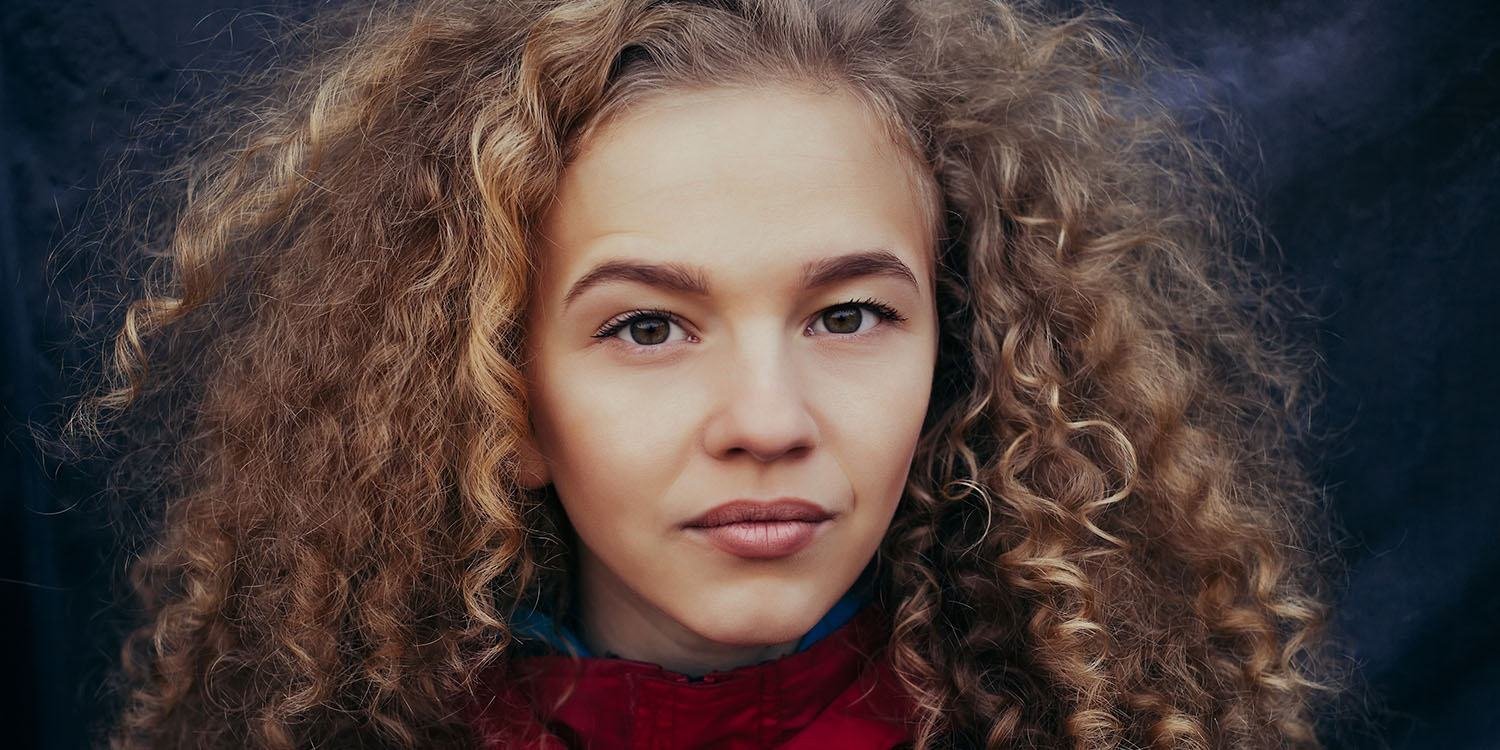
Curly
Let Your Hair Down

Bantu Knot Out
This knotted setting technique is super versatile. Depending on your natural texture and the size of your sections, you can create loose waves or tight, springy curls.
Do this: Start with clean, damp hair. Apply an all-purpose detangler and gently detangle with a pick, section by section. Divide your hair in half, secure the top half and start on the bottom. Once your hair is detangled, go back to the same sections and blow dry section by section with a paddle brush. Once hair is dry, divide it into square sections. Use larger sections if your hair is thick and/or you want a looser wave; use smaller sections if your hair is fine and/or you want a tighter curl. Apply a very small amount of a rich styling cream or waxto each section and comb it through. Leaving the hair slightly loose at the base, begin twisting each section. As you twist from top to bottom, allow the twist to coil around itself, forming a compact knot. Work all the way to the ends—it’s important to incorporate the ends into the knot securely to avoid frizz. If the knots don’t stay in place by tucking in the ends, you can secure with a few pins. “Set” all of your hair in knots—you may have anywhere from 8 to 14 knots. Apply heat with a hooded dryer or blow dryer to set the knots, then wrap them and go to bed! The next morning, remove the wrap and air dry. To release the knots, remove the pins and “unscrew” each knot in the opposite direction of the original twist—kind of like opening a bottle cap. Gently separate the twists with your fingers and push the hair up at the scalp for volume.
Put Your Hair Up
2-Strand Twist:
This styling technique is a go-to for creating luscious, consistent curls on any hair type. A two-strand twist on coiled hair creates springy, lively results. Two-strand twists can also be incorporated with braids for a wide range of coiled hair designs.
Do this: The name of this ‘do says it all—you simply divide your hair into sections, split each section in half and twist the halves around each other from roots to ends. Larger sections will result in fatter curls; smaller sections will yield tighter, springier coils. Apply styling cream or mousse to damp hair before twisting for hold. Hold each section tightly and twist as close to the ends as possible. If your twists don’t remain in place you can secure them with small rubber bands. Once you’ve twisted every section, wrap your hair in a t-shirt or silk scarf overnight. In the morning, gently unfurl each twist and scrunch in a styling oil to tame frizz and create curl definition. Mist with hairspray for long-lasting hold.
Put Your Hair Up

Crown Braid:
Here’s a quick, easy way to create a neat and festive natural hair style. Do this: On dry, stretched hair, create a deep side part. Begin at the part, close to the hairline and create a braid, working around the head. Secure the braid in the back. Repeat on the other side. Join the ends of the braids together at the nape and secure with a bobby pin.